
Getting Started With Your Brisk It Grill (Origin Series)
Congratulations on your brand new Brisk It Origin Smart Grill! Owning a Brisk It Grill means being part of a community full of passionate grillers, cooks, pitmasters, and tech aficionados. Whether this is your first step into the world of pellet smokers, or you are a veteran griller, we aim to make your Brisk It experience the best barbecuing adventure there is. This means that you will want to get your grill ready for cooking and connected to the cloud to take advantage of Brisk It’s advanced wi-fi capabilities. In this guide, we will show you how to do so.
Step 1: Sign Up For the Brisk It Mobile App
- Go to the Apple App Store (for iOS users) or the Google Play Store (for Android users) and search for “Brisk It”. Download and install the Brisk It app onto your mobile device.
- Once the app is installed, open the app and Create an Account. Make sure to use the correct email and a strong password! You will have to verify the account creation through your email.
- Sign in with your brand new account and complete the new-user profile onboarding process. Don’t worry if you are uncertain what options to select, you can always change your profile later.
- If you are reading this guide from the Learn section of the Brisk It app, you have obviously already done this step – great job being proactive!
Step 2: Connect to Wi-Fi
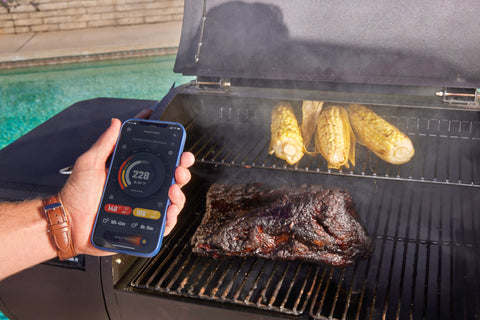
- While on the App Home Page, open up the Grill Control Hub by pressing the grill icon located on the top right of the page.
- Start the wi-fi connection process and follow the in-app steps. Make sure that your grill has the power switched on, is within range of a 2.4Ghz home wi-fi network and that your mobile device is connected to the same network that you want the grill to be connected to.
- After a successful connection, your grill will update to the latest firmware, and now you are ready for ignition!
Step 3: Season the Grill
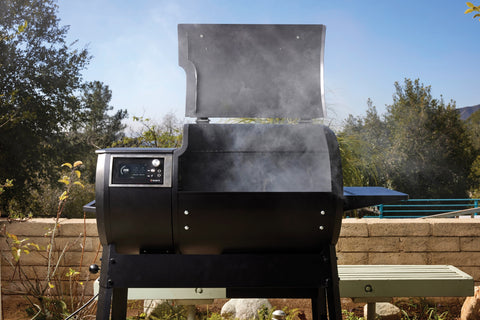
Now that your grill is connected, you are probably eager to get your grill fired and the food smoking. But hold on! We first have to burn off any remaining manufacturing oil and residue by seasoning the grill.
- Fill the grill Hopper with barbecue wood pellets.
- On the Grill Controller, press the Menu button to enter the menu screen
- Navigate to the Auger Functions and press the Control Knob to enter
- Select Prime Auger. This will begin to fill the auger tube with pellets. Your grill will notify you when the priming is complete. This will take around 10 minutes.
- Set the grill temperature to 400°F. Ignite the grill. Once the grill gets up to temp, allow the grill to run for 30 minutes.
Step 4: Cook your First Dish

With your grill connected to the cloud, your app paired, and your grill seasoned, you are ready to put the first ingredients onto the grates! Head over to our in-app recipe book to choose what your first dish will be. Try out our remote cook monitoring and controlling capabilities, and definitely make sure to initiate an InnoGrilltm A.I. cooking program and let Brisk It do the hard work for you.
Happy grilling!


